Monetize Raspberry Pi with Mysterium
How install and run a node on a Raspberry Pi device
Mysterium Network is a decentralized VPN service that allows users to rent their spare bandwidth to earn cryptocurrency. By running a Mysterium Node on your Raspberry Pi, you can contribute to the network and earn MYST tokens in return. This is a passive income opportunity that requires minimal setup and maintenance.
Installating a Mysterium Node on a Raspberry Pi is a simple process that can be completed in a few minutes. Once you have installed the node, you can start earning MYST tokens by sharing your bandwidth with other users on the network. Read the official madual to get started.
I’m recommending to install in a Docker container, but you can also install it directly on the Raspberry Pi.

Read Official documentation for more information.
You can get a Mysterium Node preloaded on a Raspberry Pi delivered to your door, but we honestly recommend you get one at a store nearby and follow our guide below.
Easiest way to install Mysterium Node on a Raspberry Pi (not recommended)
Supported Raspberry Pi models
- RPI 3B
- RPI 3B+
- RPI 4B
- RPI 5
Flash an existing Raspberry Pi
- Download the Mysterium Node RPI image: mystberry.zip from GitHub.
- Download Balena Etcher if you haven’t already got it: https://www.balena.io/etcher/
- Insert the microSD into the provided SD card reader and connect it to your computer.
- Open BalenaEtcher and select mystberry.zip as the image. Select the SD card file as the target.
- Make yourself a tea. Wait until your Flash! is complete.
- Insert the microSD card into your Raspberry Pi.
- Plug in the network cable into your router and then the power cord. It may take a few minutes before the Pi is fully up.
- Open your browser and go to http://mystberry.local:4449
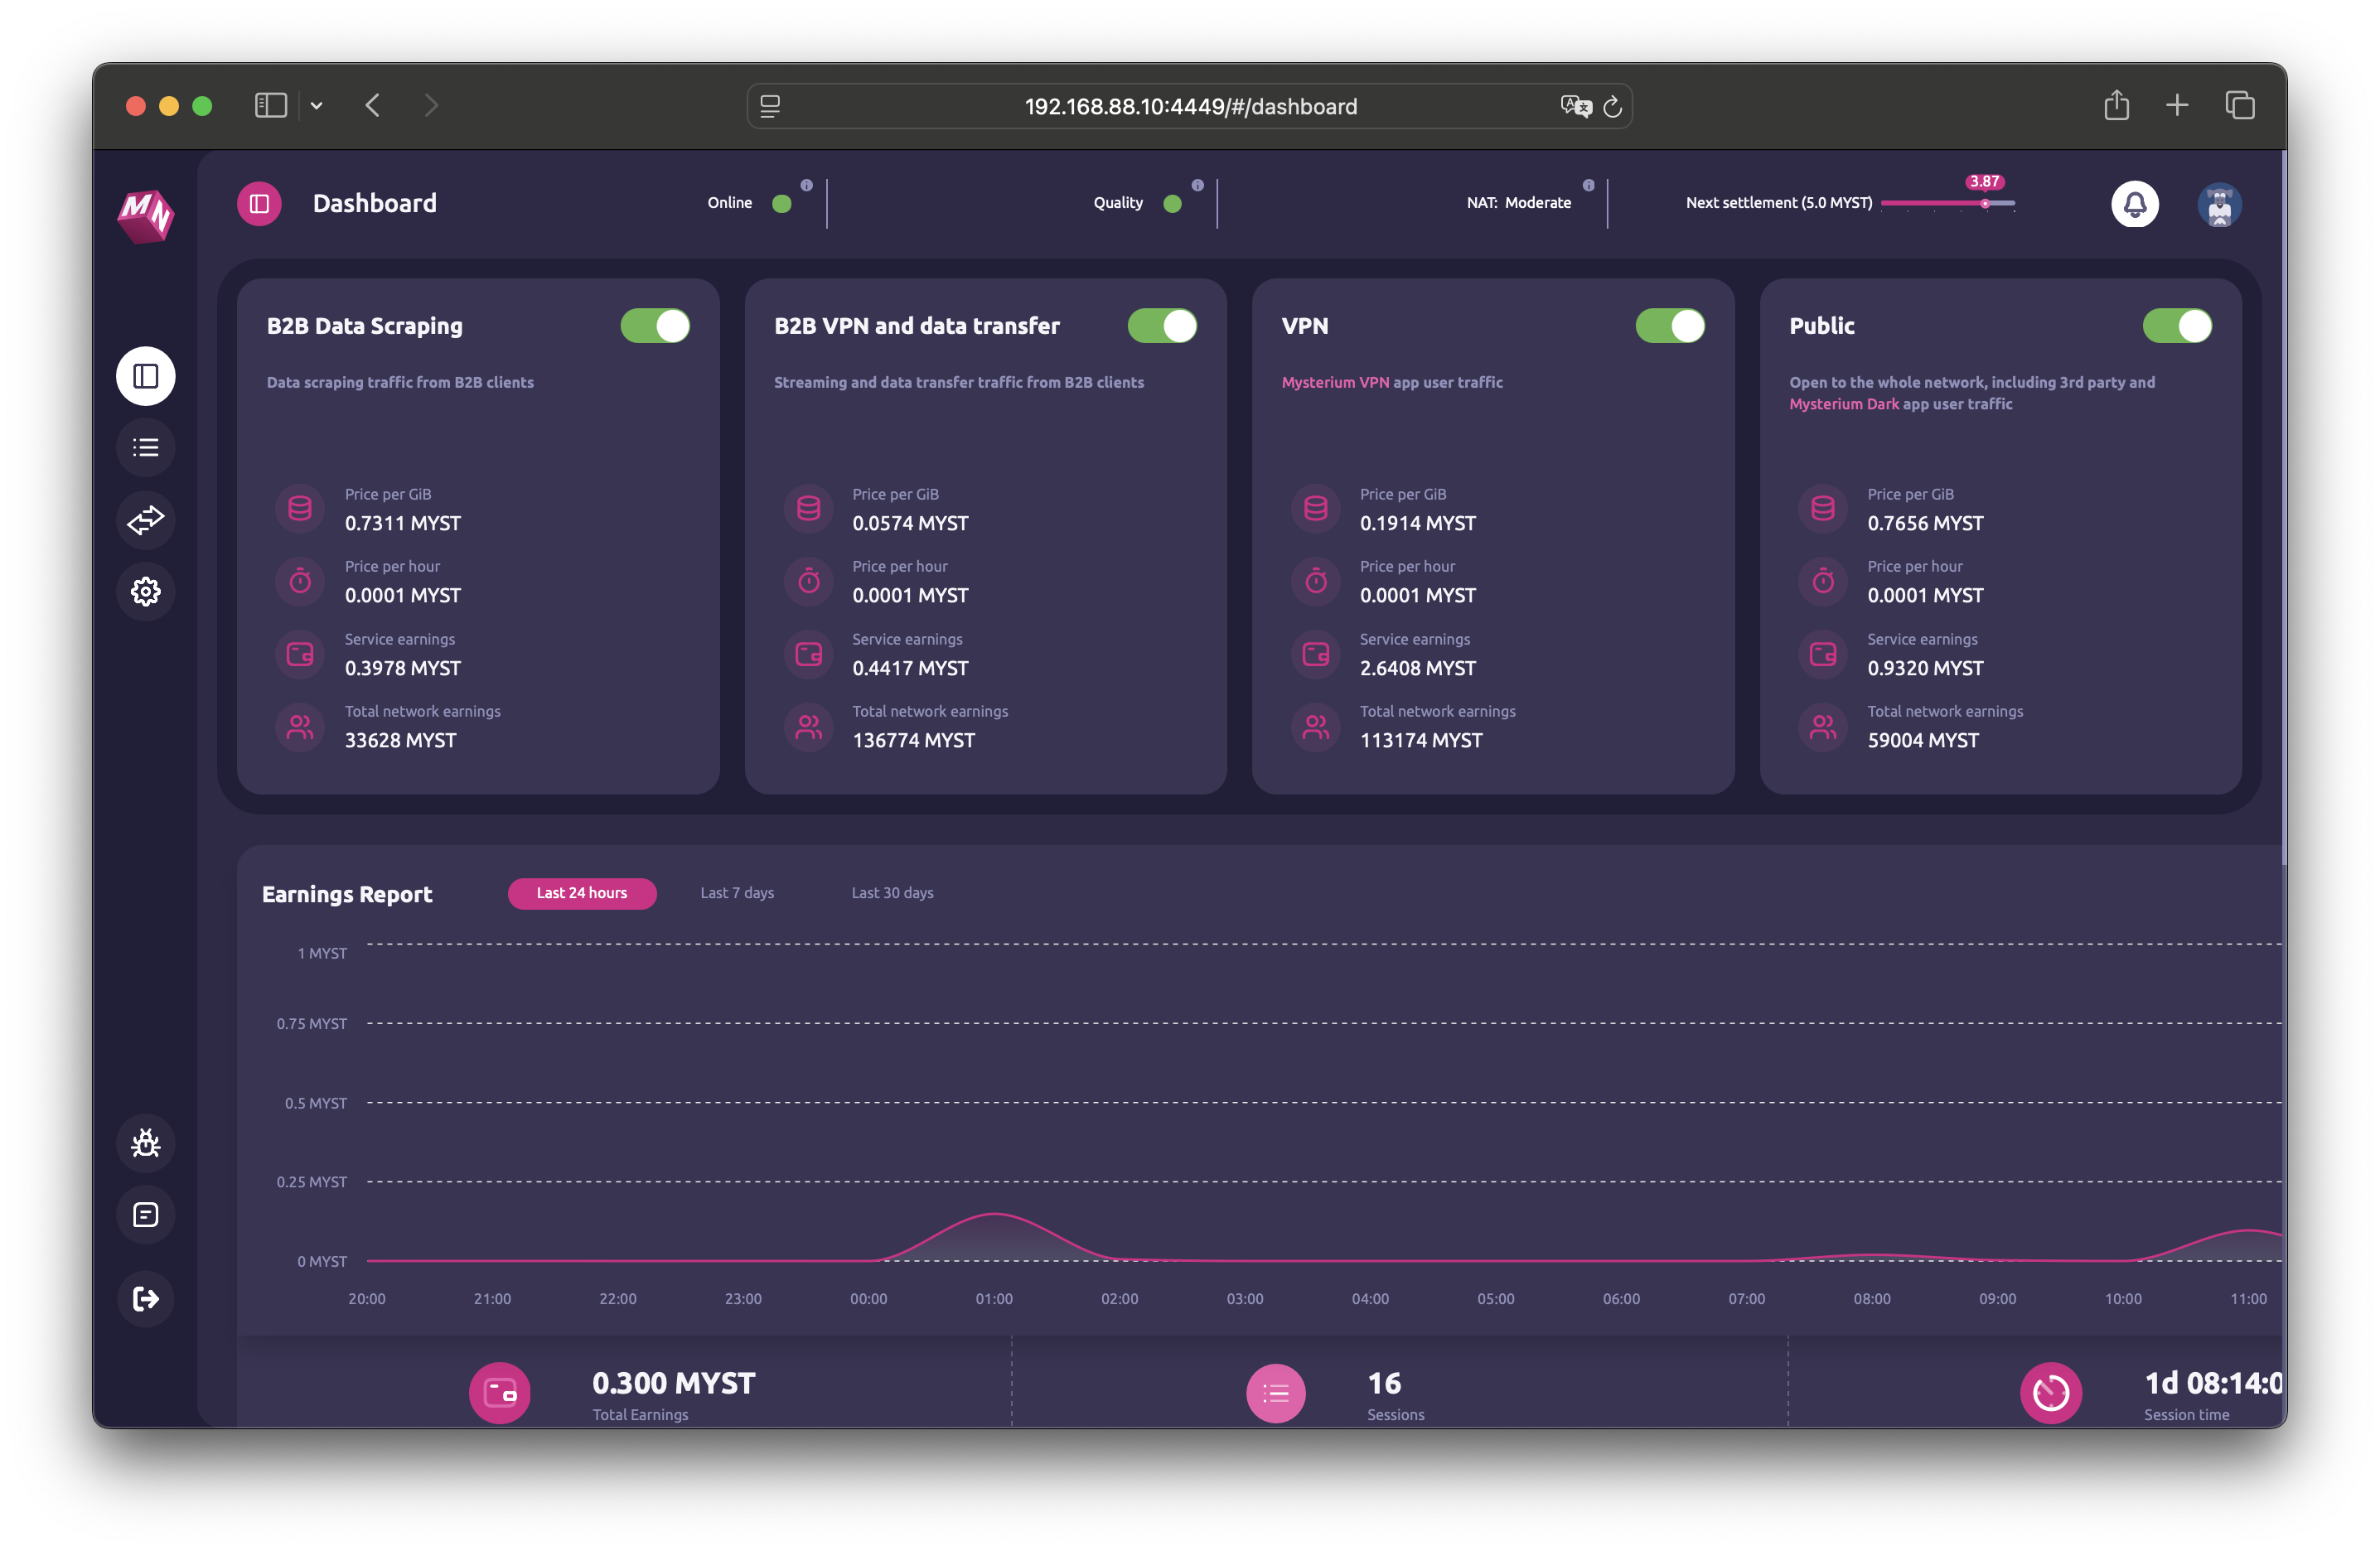
- You will be greeted with the Mysterium Node UI. You can now start earning MYST tokens by sharing your bandwidth.