Install Pycharm CE on Mac OS using Homebrew

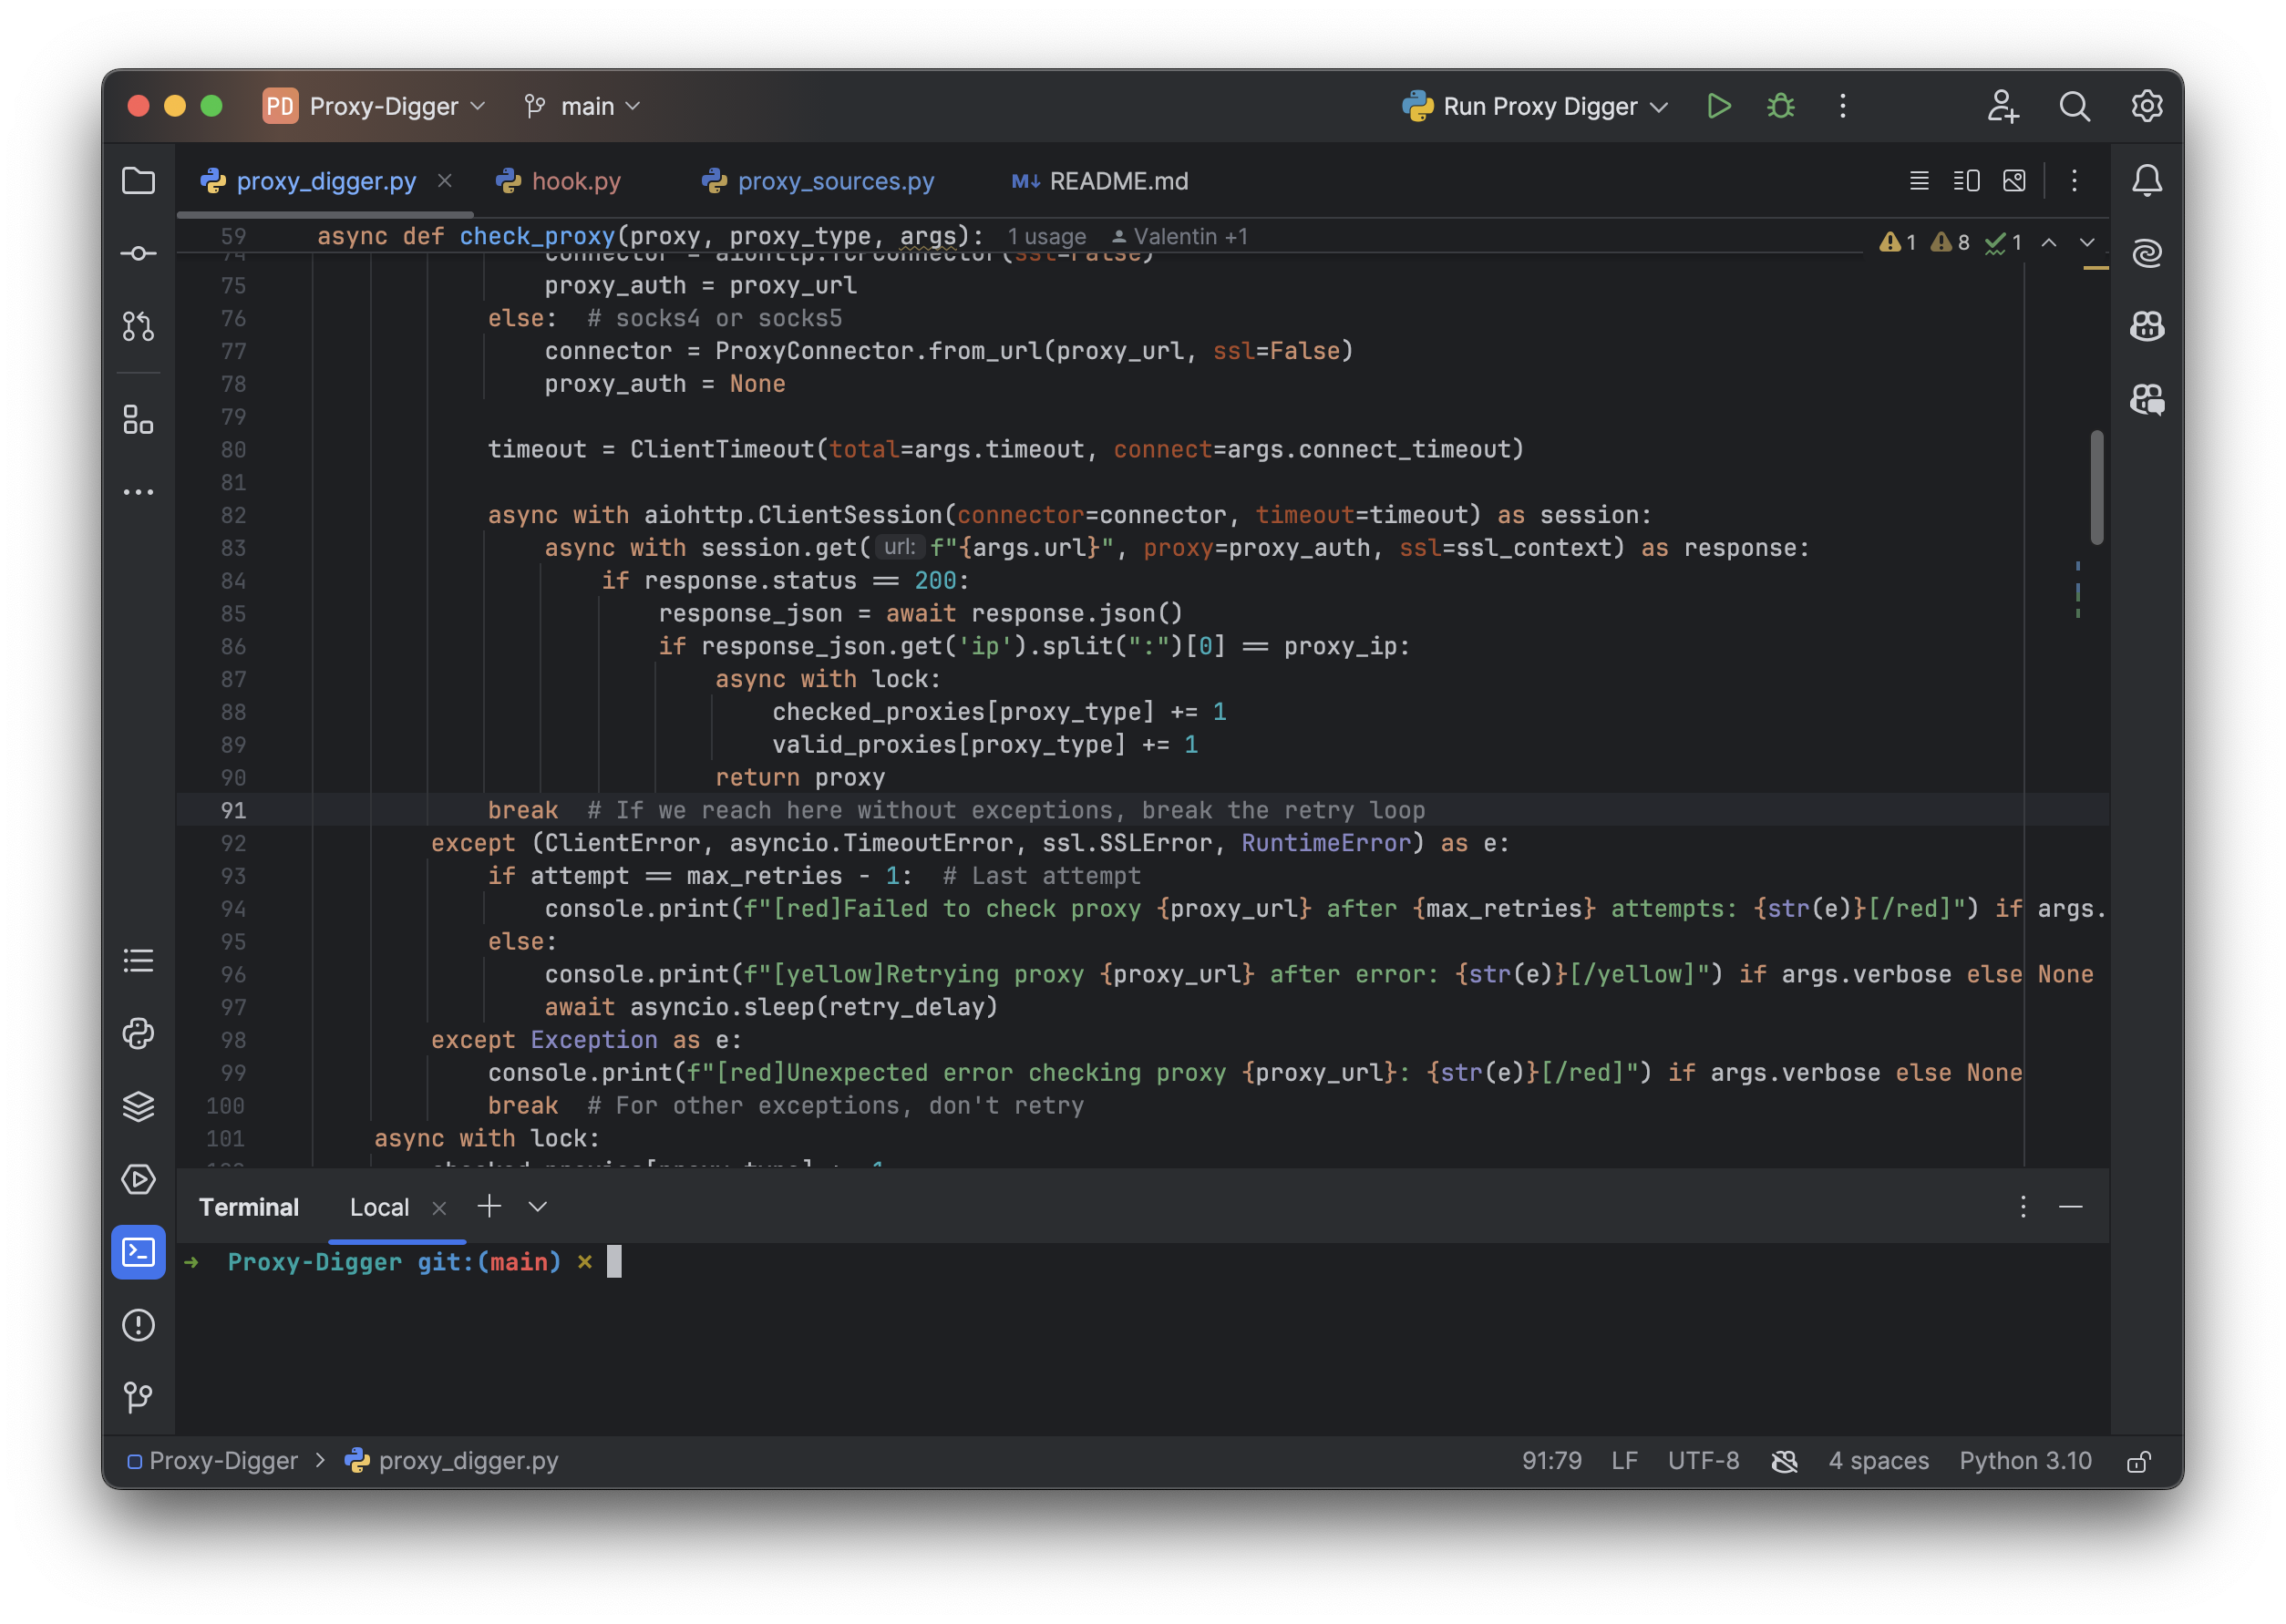
PyCharm is an Integrated Development Environment (IDE) used for programming in Python. It is developed by JetBrains and is available in two editions: PyCharm Community Edition and PyCharm Professional Edition. The Community Edition is free and open-source, while the Professional Edition is a paid version with more features.
In this tutorial, we will learn how to install PyCharm Community Edition on Mac OS using Homebrew.
Step 1: Install Homebrew
Homebrew is a package manager for Mac OS that allows you to install and manage software packages easily. To install Homebrew, open the Terminal and run the following command:
/bin/bash -c "$(curl -fsSL https://raw.githubusercontent.com/Homebrew/install/HEAD/install.sh)"Follow the on-screen instructions to complete the installation.
Step 2: Install PyCharm CE
Once Homebrew is installed, you can use it to install PyCharm Community Edition. Run the following command in the Terminal:
brew install --cask pycharm-ceThis command will download and install PyCharm CE on your Mac OS.
Step 3: Launch PyCharm CE

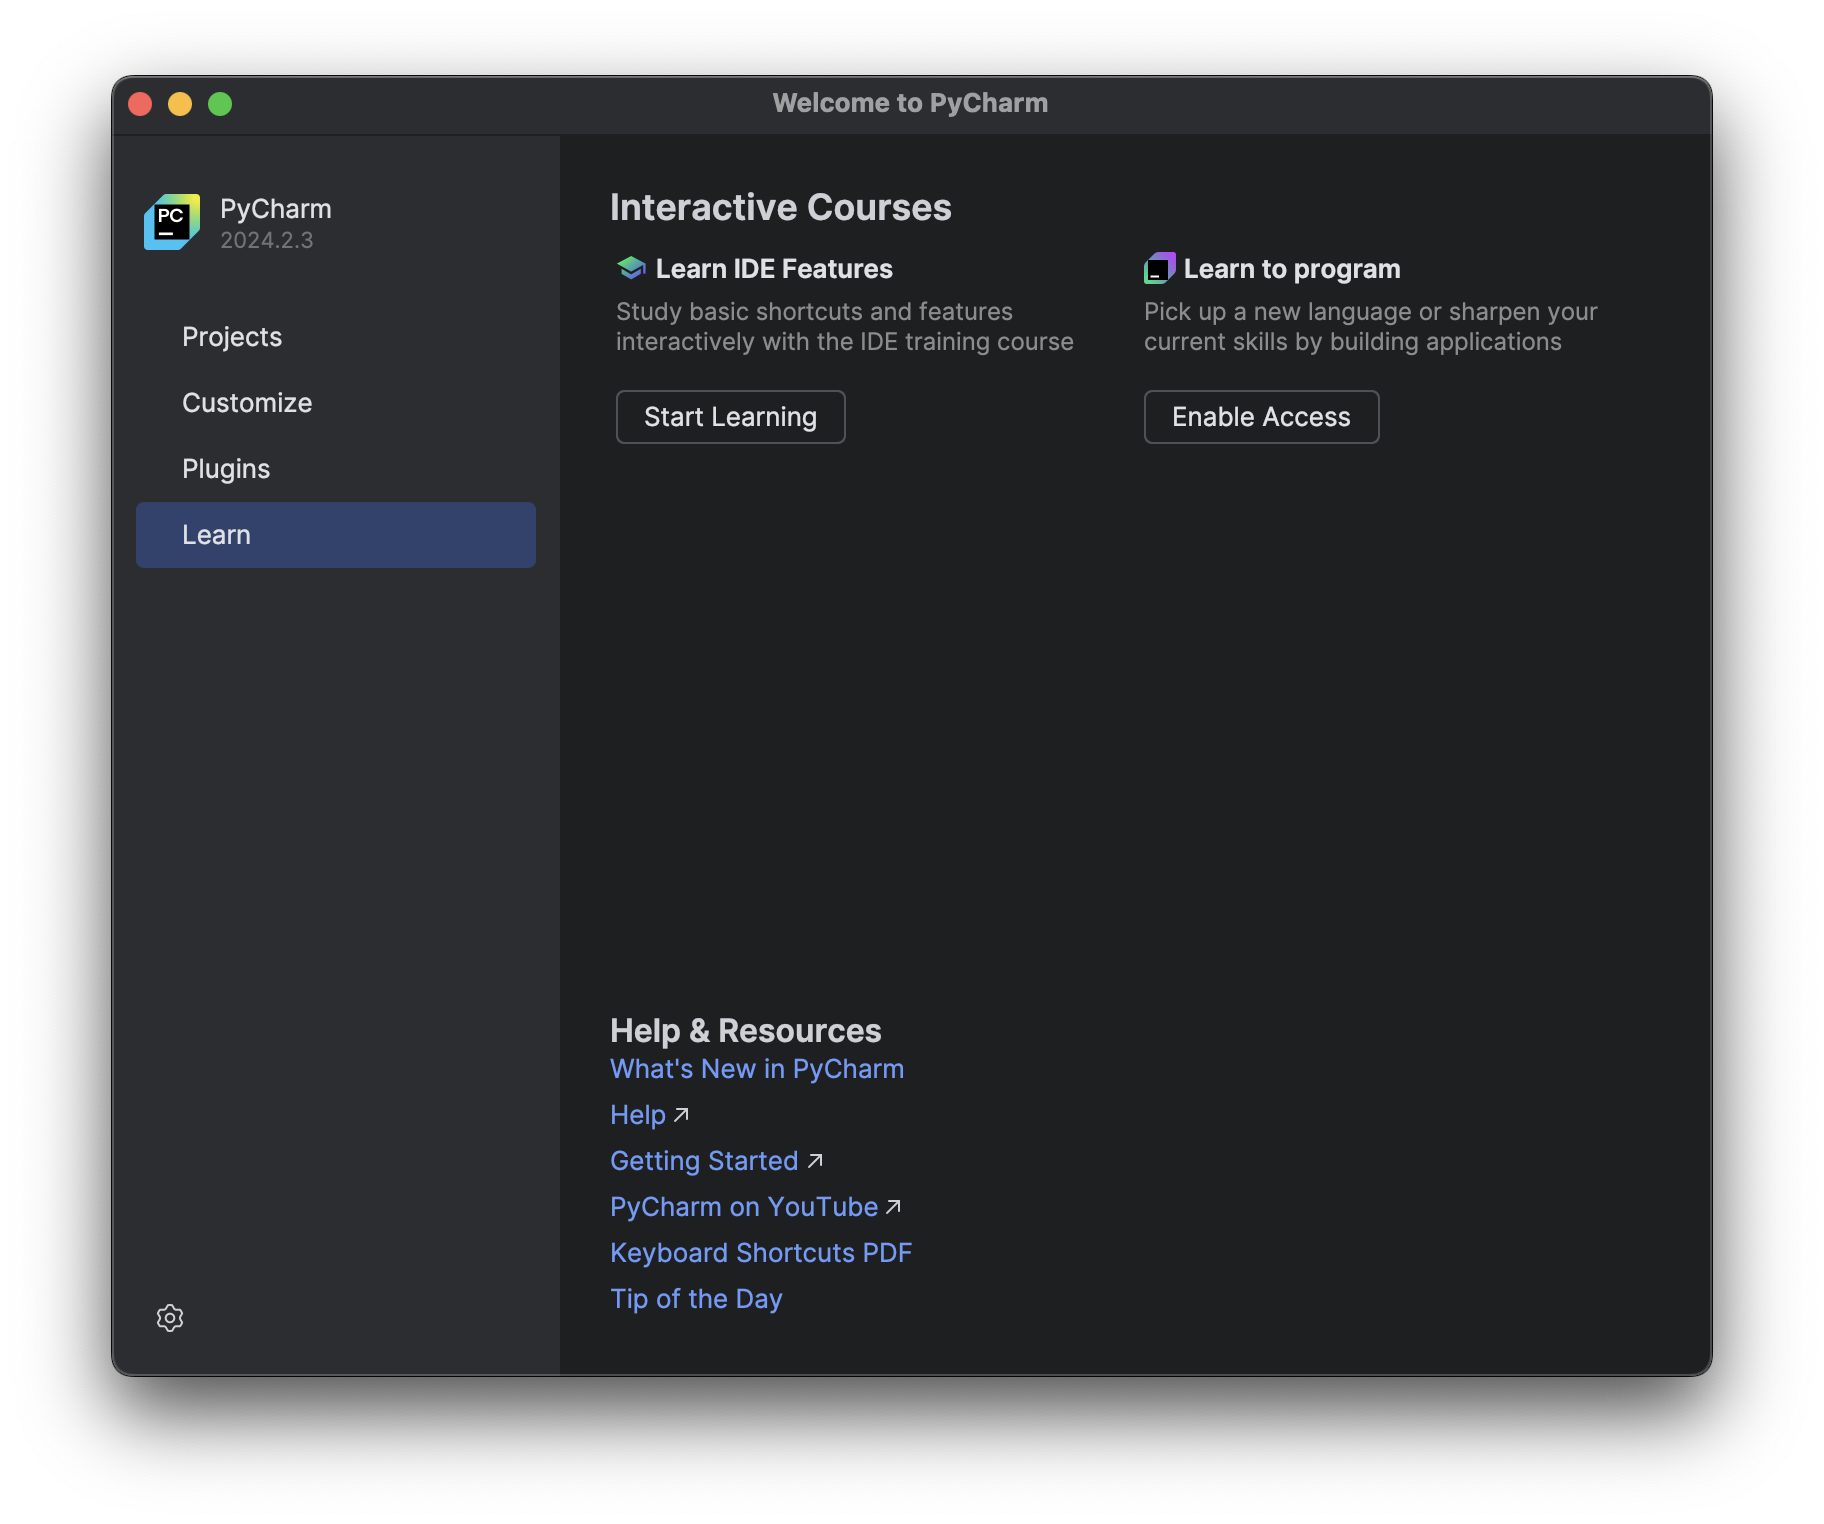
After the installation is complete, you can launch PyCharm CE from the Applications folder or by searching for it in Spotlight. When you open PyCharm CE for the first time, you will be prompted to configure the IDE settings and create a new project.
That’s it! You have successfully installed PyCharm Community Edition on Mac OS using Homebrew. You can now start coding in Python using PyCharm CE.
If you encounter any issues during the installation process, please refer to the official PyCharm documentation for troubleshooting tips and solutions.

Happy coding! 🐍